Showing posts with label Decorating. Show all posts

She's Worth It

SouthernHospThriftyTreasures copy_thumb

Don't you just love a good before and after?

Sometimes it takes a while.


Sometimes it seems like it is taking forever.

There she was when I began to blog about our lives. The Chair was the second post I ever wrote, yet somehow it has been the one I always go back to when I begin to reminisce.

She finally got her makeover. I finally got up the nerve to change her. She was $15.oo at that garage sale so long ago.


She's different somehow, don't you think?


Her back.


Gone are the channel-stitches. All pretty and button-backed now.


We left her finish the same. We kept some age on her.


Her damaged leg was repaired. No more tape and glue holding her together.


Gone is the old brass nail head trim and in its place, a simple double welt.


The classic linen shows off her pretty carvings now.


She even got a new shabby chic pillow to keep her company.


It's the place where we read to our girls at night before bed. It's the place where dirty clothes end up. It's the place where toys and books and blankets and hangers get piled. But she's new. She's different.

She was worth it. Worth the wait. Worth the money. Worth the time. Worth the worry that it wouldn't turn out right.

Worth it.

Do you have a project that you've been putting off? Are YOU that project?

Thanks to Rhoda for hosting the Thrifty Treasures party again this week!
SouthernHospThriftyTreasures copy_thumb

More Inspiration

Here's another image of my inspiration for our bathroom curtains:


Oh Sarah Richardson, how you inspire me!

Do You Remember?

A good while back, I did a quick update to our sweet little hand-me-down table.
I added burlap and ribbon for a quick fix to tide us over until I had the energy or something to paint it.


Remember? If not, you can go back to read about it HERE.

So, I guess I got some energy and painted, sanded and aged our sweet little thing!


So happy with how it came out!

The New Bath

It took for....ever.

But the tub alone is worth it.

Here is the bonus room before:

This room is now our master bedroom. We only added about 200 square feet for the new bath and walk-in closet. The addition is located behind the back wall.

The sliding doors are now a pair of french doors.

The window on the right is now a door to the new bathroom. The other window on that back wall was sealed up.

See how that window became a door?


Ta-da:


The walk-in closet is just to the left of the vanities, and you can just catch a glimpse.


I didn't give you a view of the closet because I don't think you want to see that kind of a mess.


This is a view from inside the closet. The white door is the door to the WC (water closet, toilet room, if you will!). We are so thankful for the floor-to-ceiling storage closet just to the right of the WC. It is built right into that little niche between the WC and shower.


More storage over the toilet in the WC.


View of the playground from the WC. That oak is HUMONGOUS!


View from the closet again, looking to the right you can see the edge of the shower door.


The rain shower head from the ceiling has proven to be a worthwhile addition.


A small niche for shampoos and soap and shaving cream. There is also a little, itty-bitty bench that is perfect for hiking my leg up onto for shaving. (when I "treat" myself to a long enough shower to allow for the "luxury" of shaving my legs!)


We had these sconces mounted directly to the mirror to really illuminate the bathroom. There are also MANY recessed cans to brighten up the space. I'm still looking for the perfect chandelier to hang over the tub.


The faucets and counter tops are so easy to keep clean. We opted for silestone instead of granite. I really like the more uniform color and pattern of the silestone.


The tub fill matches the sink faucets. The are both from Kohler.


So here's what I have left to do:
  • hang a couple of towel hooks
  • find, buy and install a chandelier over the tub
  • hang curtain rod and figure out what kind of curtains to do for window above the tub

These are some inspiration photos for curtains behind a free-standing tub, all by Sarah Richardson:

This first example might be too modern, but I love the tub! See how the sheer curtains really soften up the hard angles, tile, glass and metal finishes?


The feeling in this bath is closest to what we've got going on in ours:


This one makes me want to go bold with a geometric and colorful pattern:


I love the colors of this bath and the pattern on the sheers:


This one below is from Sarah's overhaul of a farmhouse and was my original inspiration to do curtains and pattern behind the tub to soften up the space:


I have two yards of this fabric, Florabunda that I might use somewhere in our bathroom, the girls' bathroom or the half bath outside.


I love the texture and age of the fabric!

Coming soon? Our new bedroom!

It's Like I Went Shopping, But I Didn't Spend ANY Money!


Welcome! It's sunny down here in Florida, but inside it's beginning to look a lot like Christmas!

Last year, we had just moved into our new house and the only decor was cardboard boxes. Opening all the storage boxes full of holiday decor has thrilled me beyond belief because it has been two years since I've been able to use any of it!

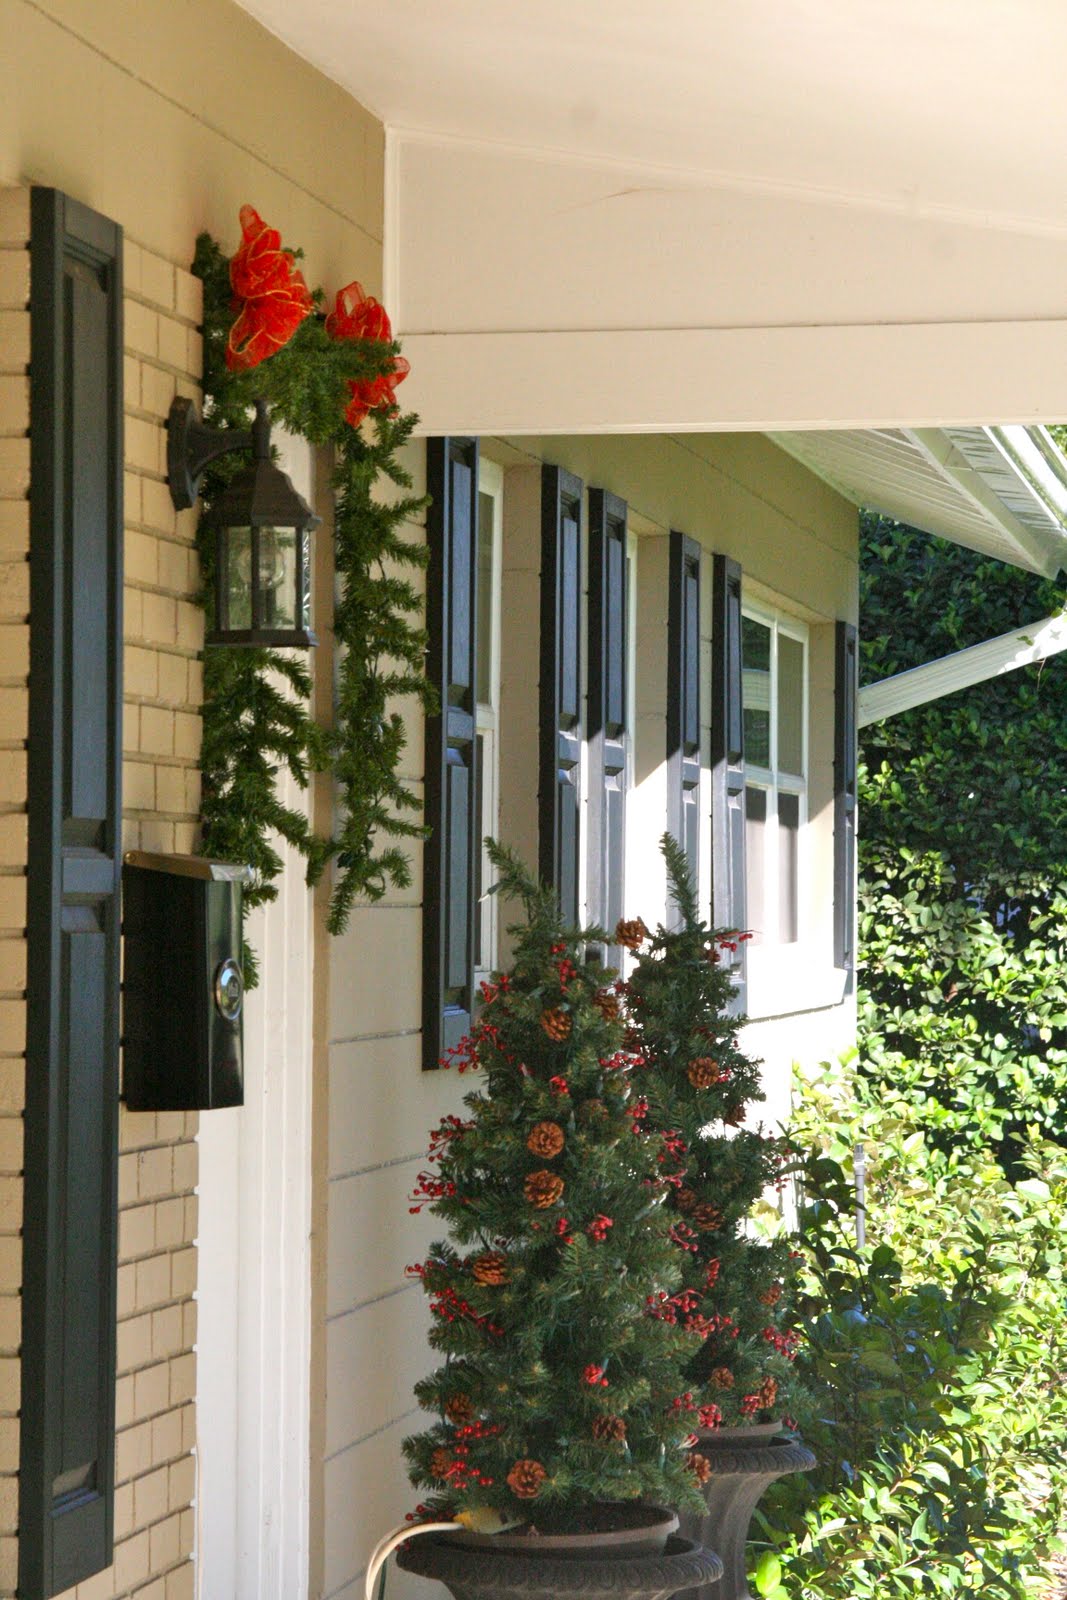
I picked up pre-lit garland at the after Christmas sales two years ago, so we had plenty to swag across the front of the house.


Had to slip in this picture of our new garage door:

I MAY or MAY NOT have had an accident with our previous garage door!

This year, I got rid of SO MUCH STUFF because our new house is smaller and I'm liking the living lighter feeling. We got to see Santa already this year:

In the dining room, I kept everything neutral using silver, gold, clear glass and burlap:

HJ brought home this handmade decoration from preschool and it fit in just perfectly!

I poured the ornaments into jars and stacked a couple of cake plates with nuts and metallic ornaments:

This is the closest we have to a nativity right now, if you don't count our Little People one:

I love the way this turned out and how easy it was!

I got the burlap table runner from Kimba two years ago, too.

Our elf named "Pinnochio" landed on the dining room wreath last night.

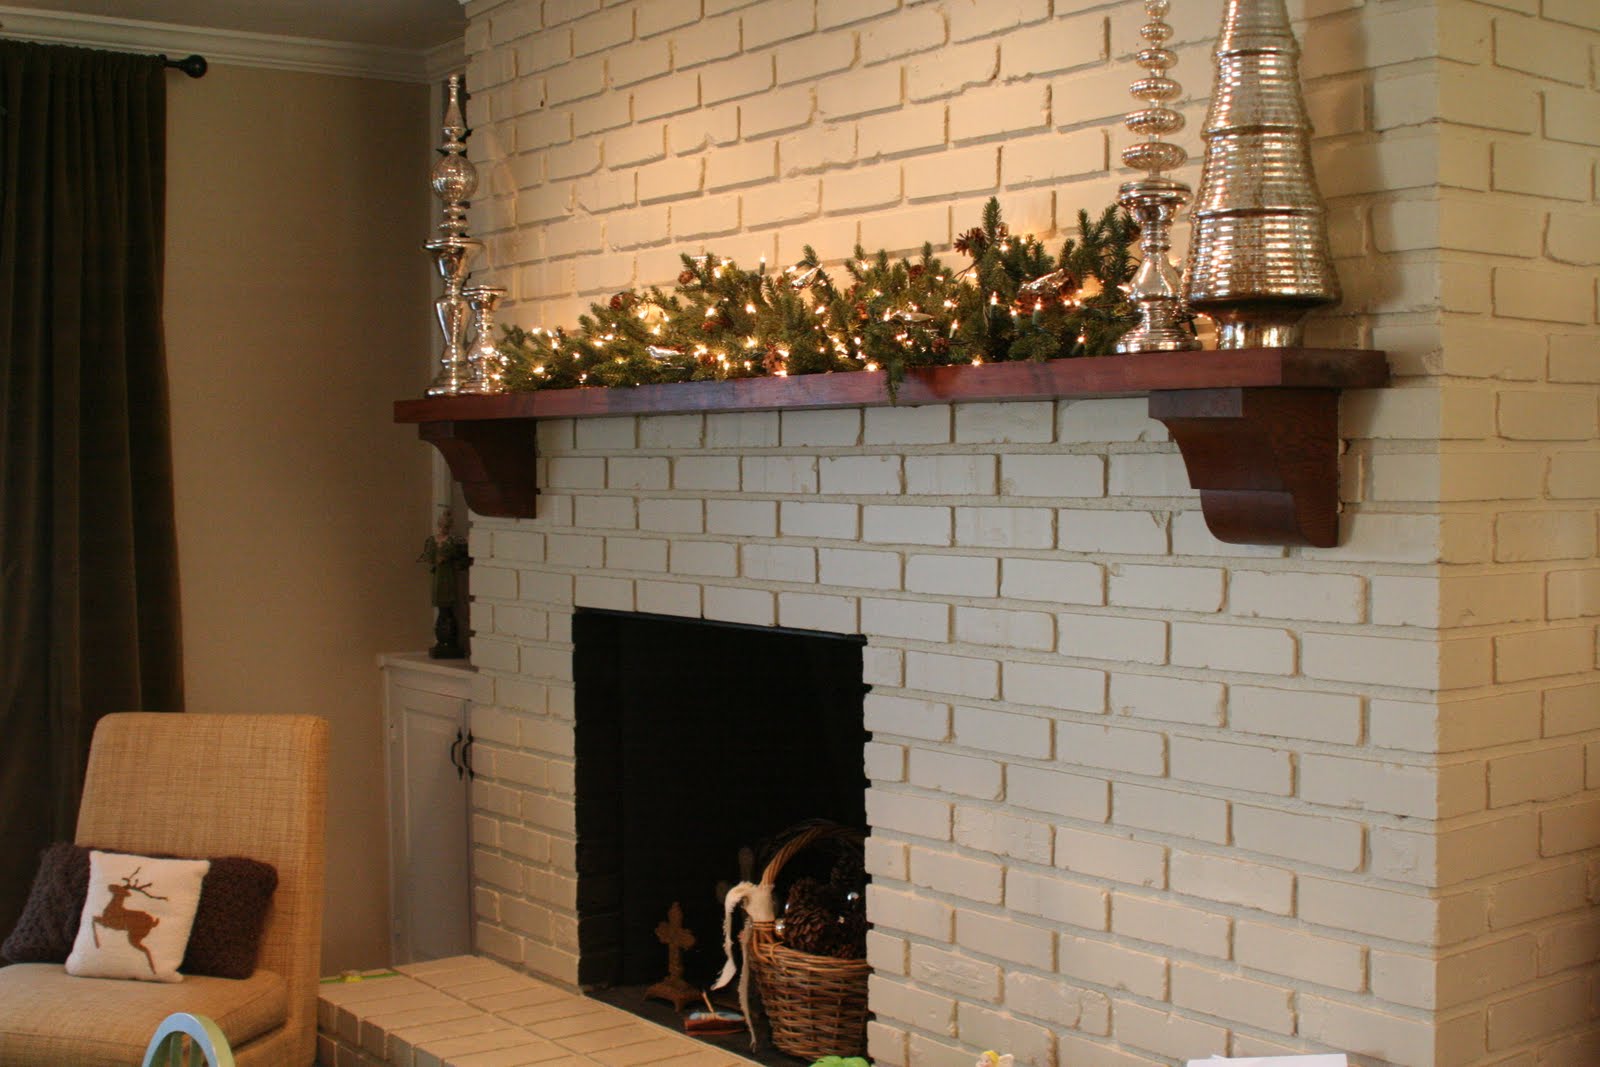
I tried to keep the mantel simple:

But I just couldn't help myself and kept adding this and that until it looked like this:


Little birdies landed:

A nest came back out:

Along with some feathers, silver trays, sticks and other greenery:

Five minutes after we hung this curtain rod last Spring, I knew exactly what I wanted to do with it for Christmas:


I just stuck those berry sprigs in the grapevine wreath and propped good ol' St. Nick up!

And there is the tree!


Love the reflection of the tree in the coffee table!


I buy a glass church every year.


For The Daddy, who is asking for a National Championship for Christmas:

And a daytime shot(with simpler mantel):

I like the lights at night. So romantic and magical!

In the girls' room:

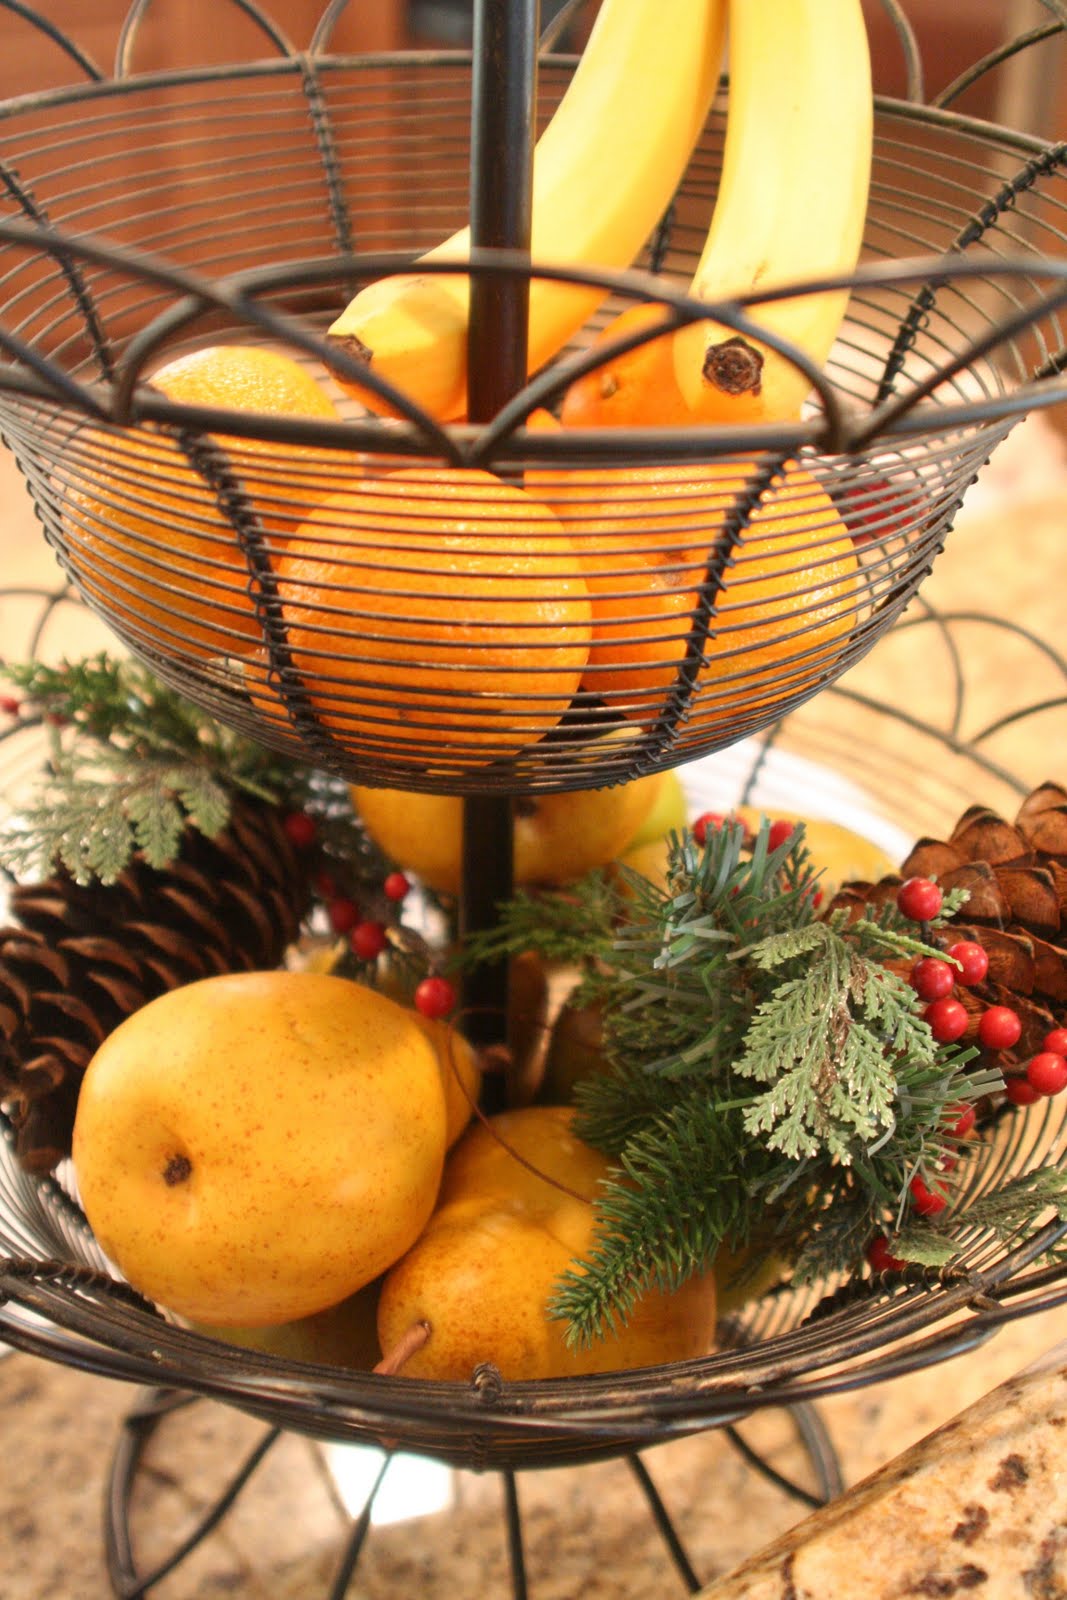
In the kitchen:


Also, a new tradition:
I'm going to put a picture of the whole family together from the previous Christmas in these frames so we can see who has changed the most in the last year.

I buy HJ a nutcracker every year, and AE a snow globe.

Another creation by HJ

Jesus and Joseph are missing because the letter of the week was "J" and AE took them to school!


Our best present this year: